 My goal this week was to pre-blog, but Election Day kind of got in the way of today's early post. I had only voted two times before today and each time I waltzed into my polling location, grabbed a ballot, voted, and waltzed out. Today, not so much. There were lines. LONG lines. But I'm happy to report that my civic duty is complete! At least for today. :)
So, let's talk about gooey caramel and crispy apples. I love them both separate and together, and because I've been eyeing these salted caramel apples for awhile now, I decided it was time to try making my own. I feel like I owe everyone a warning though ... my apples didn't look anything like that link. I know, I know, you're probably shocked. It's mostly because I was scared my caramel was burning, so I slapped it onto the apples before it was ready. They do, however, taste delicious, so I give myself one point for that.
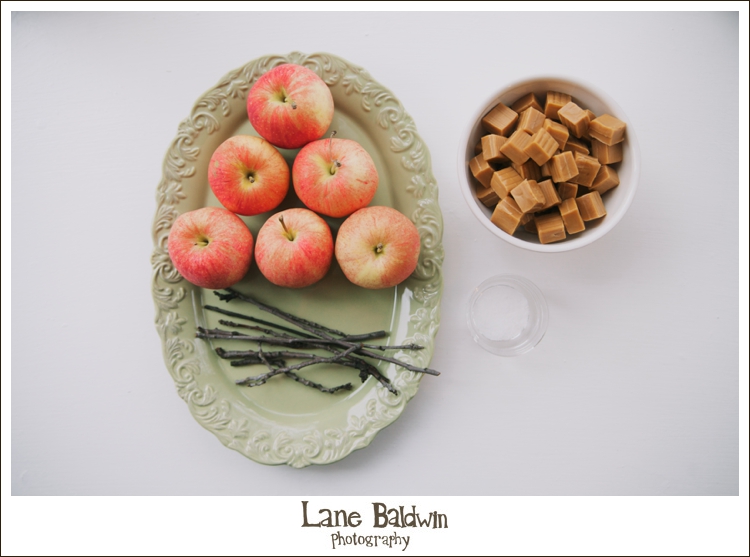
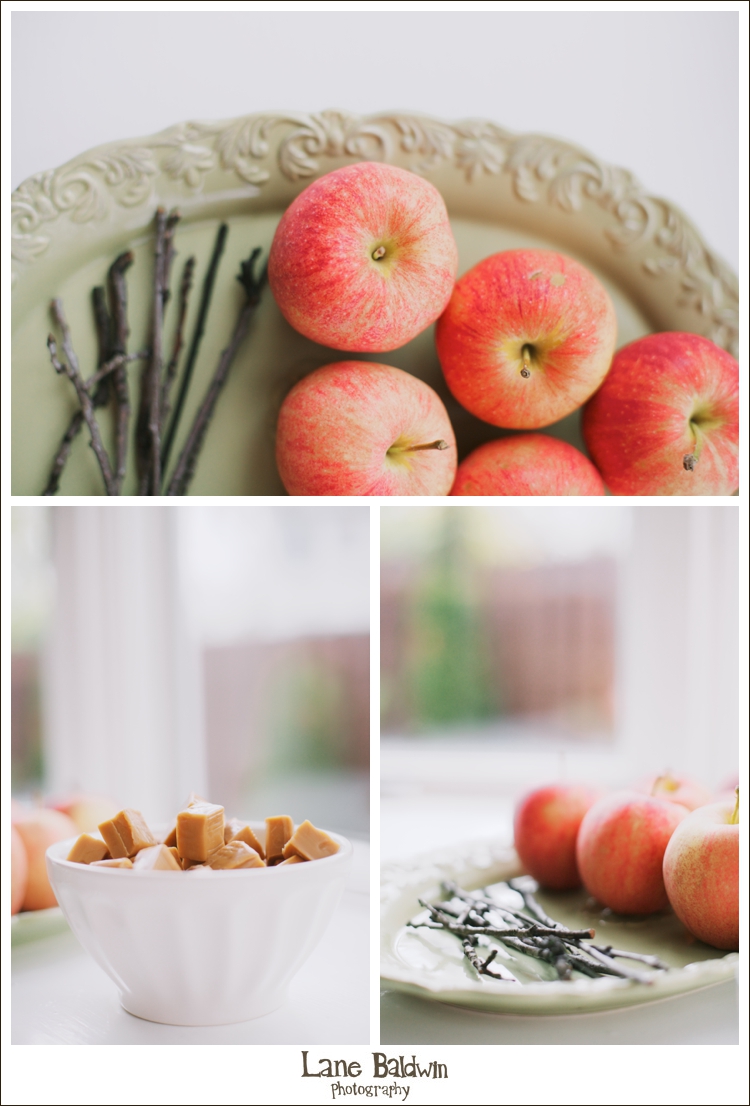
You will need: Apples Caramels (If you're really ambitious, you can make your own caramel. I am not, so I bought my caramel pre-made. :) ) Vanilla Extract Milk Sea Salt Branches (to hold onto while you're eating!)
1. Melt the caramels in a double boiler (or if you're like me, in a bowl sitting over a pan of hot water. We're not fancy at the Baldwin house). As the caramel is melting, add a teaspoon of vanilla extract and a couple tablespoons of milk (I learned this from The Pioneer Woman). Stir well and keep stirring until the caramel is runny in texture.
2. Insert the branches into the apple cores. Make sure they're firm so you don't loose your apples when dipping.
3. Dip half of the apple into the caramel. Smooth the caramel with a rubber spatula if it globs too much.
4. While the caramel is still hot, sprinkle sea salt on the apple. (I decided not the roll the apple in the salt because I was afraid it'd get too salty, but I'm sure you can do that too.)
Voila! How awesome would these be at a fall wedding??


